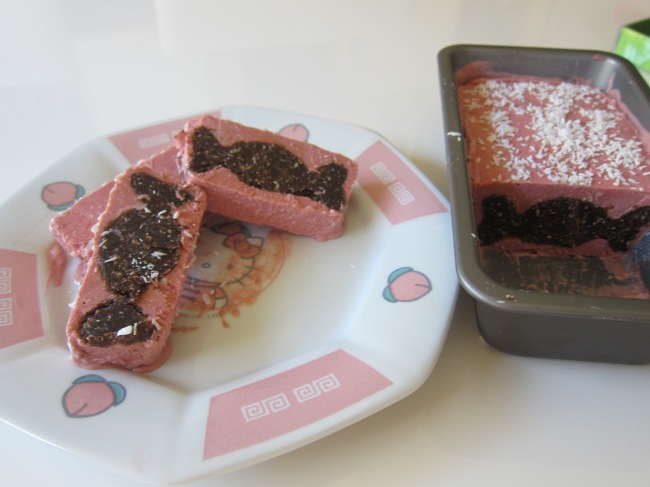
You drooling yet? ;) Just look at that natural pink colour! No chemically formulated colours here, folks!
My intention was to post an Easter recipe, but somehow this turned into another delicious frozen dessert. Well, who's complaining? ;) It's probably because of this beautiful weather I'm experiencing this past few days here in Vancouver.
Warning, your eyes may experience some extreme widening and you
may will feel the urge to get into your kitchen and make this chocolatey strawberryness ;)
If you like strawberries dipped in chocolate, you're definitely at the right place. And don't get intimidated by its gorgeousness; this is one of the recipes that requires little hands-on time, but a longer waiting time (which is definitely the hardest part!) :D
In fact, you make lose some of the love for chocolate-dipped strawberries, as now you can have something that tastes better, and is wayyyy healthier for you than the 50 grams of sugar you get from the chocolate fountain. Oh, and did I mention it's vegan also so no animals are suffering on your behalf? ;)
Strawberry Chocolate Icebox - makes one 11× 5.5 × 3 inch loaf pan
Fudge Center
1 cup pitted dates, any kind will do. (keep in mind drier dates may require using more)
1 tsp. vanilla extract
2 tbsp. cocoa
2 heaping tbsp. coconut
1/3 cup pecans
Strawberry "Icebox" Exterior
2 cups frozen strawberries (if you have fresh ones, I'm jealous)
1 cup cashews, soaked for 2 hours
5 tbsp. agave or maple syrup
2 tbsp. lemon juice (about the juice of half a lemon)
1 tsp. vanilla paste (or 2 tsp. vanilla extract)
4 tbsp. coconut oil
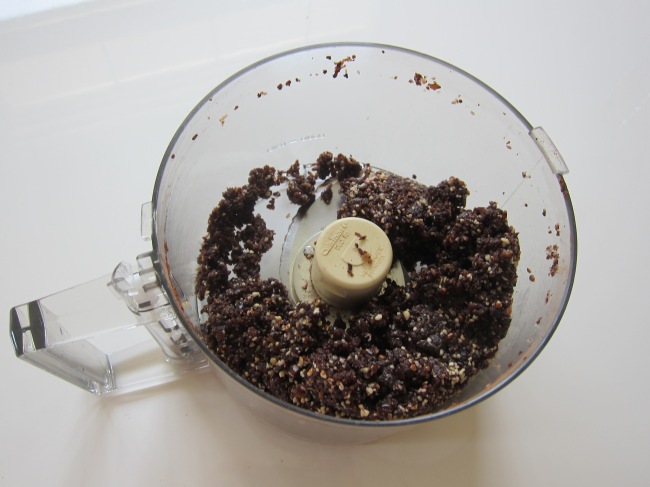
To make the fudge center, simply throw everything together in a food processor and let it do its job! How easy is that?!
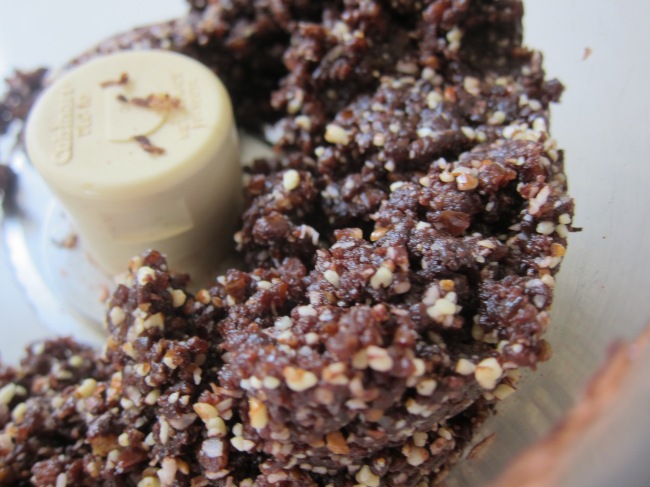
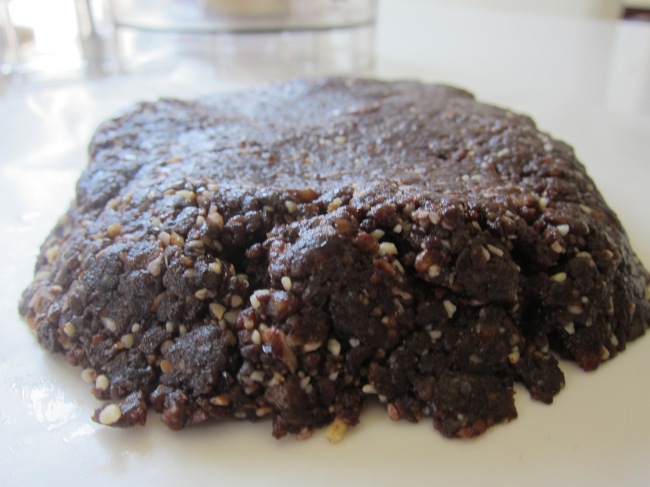
Ahh, that's the perfect consistency. Wet, sticky dirt.
Smells. So. Good. Take a quick whiff, fellas. Decadence-much?
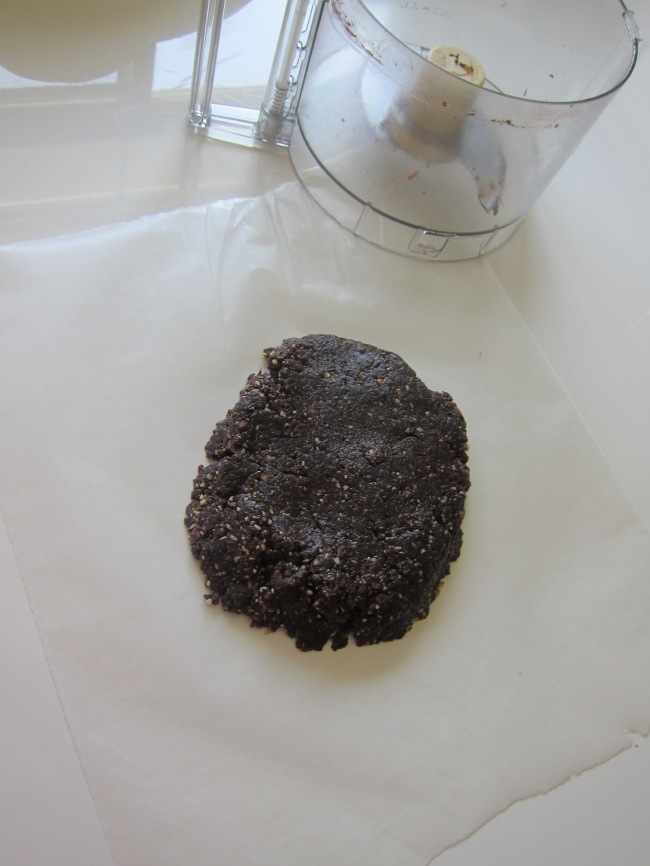
Once you have this amazing chocolate center ready to go, plop the "dough" onto a piece of wax or parchment paper. It makes clean-up so much easier.
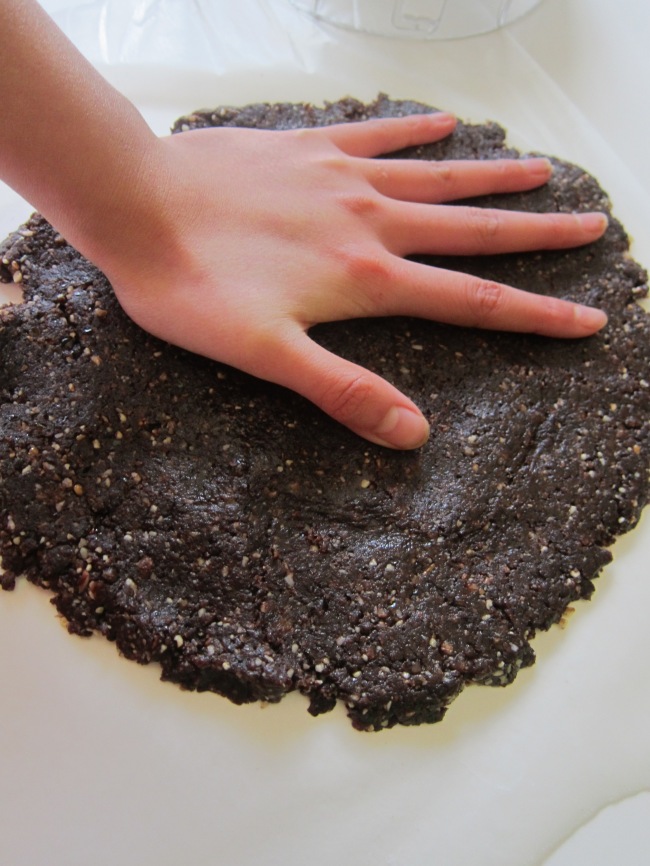
Make the "dough" into a ball and flatten about 1/2 inch thick.
Yikess, that's wayy too thick. But just look at that texture :D
For those perfectionists out there, no need to use your rolling pin! Just flatten with your "clean" hands! ;)
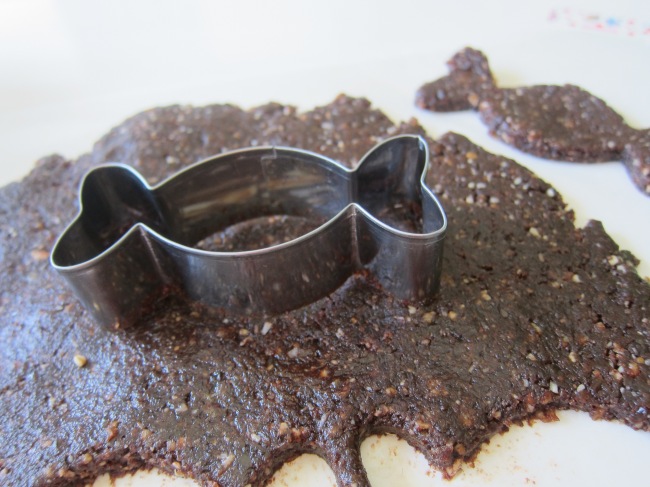
Perfect! Now comes the fun part... Cookie cutting!
As I meant to do an Easter recipe, I meant to use a bunny cookie cutter, but tragedy happened and I couldn't find my beloved bunny rabbit :(
I did have my egg shaped cutter, but that would just look like a chocolate marzipan Icebox-- nowhere as fun!
Reluctantly, I settled for a candy shaped cookie cutter... but hey! Candy is related to Easter, right? ;)
Keep in mind you can use whatever cookie cutter you like, to suite any occasion!
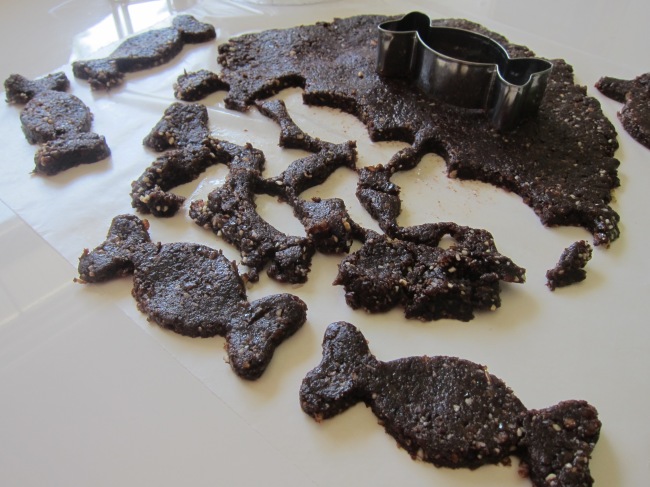
Try not to eat them while you admire their cuteness. I know it's tempting, but you'll get some scraps later! :)
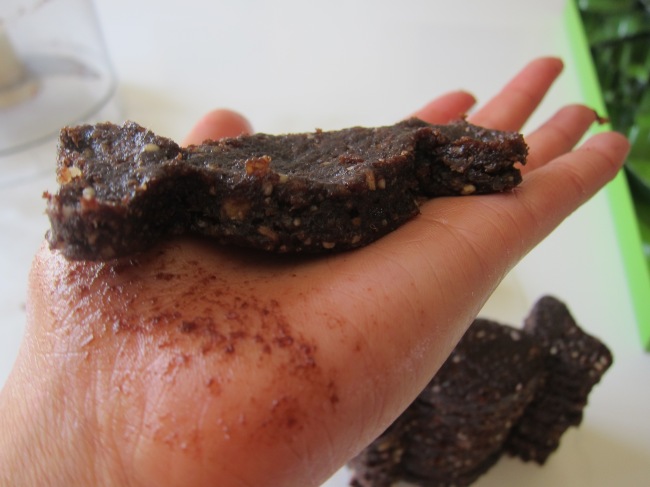
My chocolatey hand... Mhhhmmmmm....
Notice the stack on the bottom right?
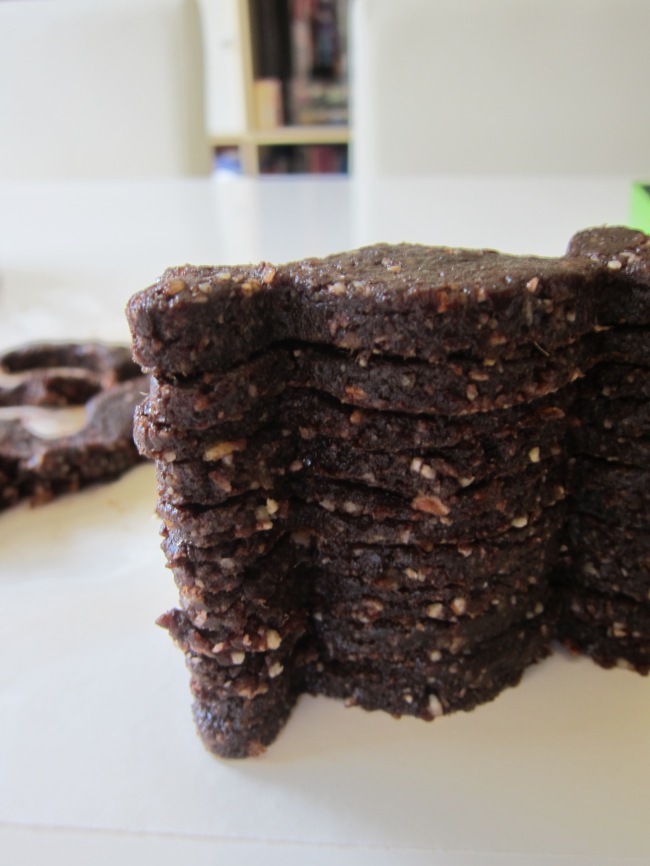
Yepp, that's the next step. Stack all of these babies on top of each other to make a log!
Stack 'em and stack 'em high!
Time for the strawberry icebox! This is so exciting. trust me.
Blend everything together except for the coconut oil. As always, I used my beloved Vitamix, but you can use blentex or any other kind of blender. Or even a food processor!
If your blender's motor isn't as powerful, I recommend using fresh strawberries.
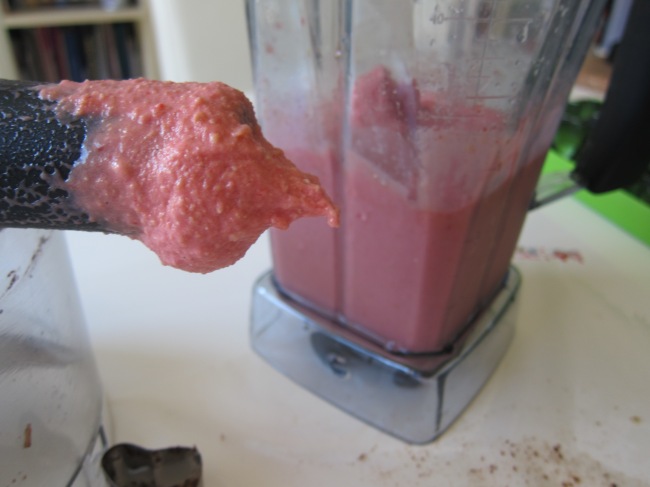
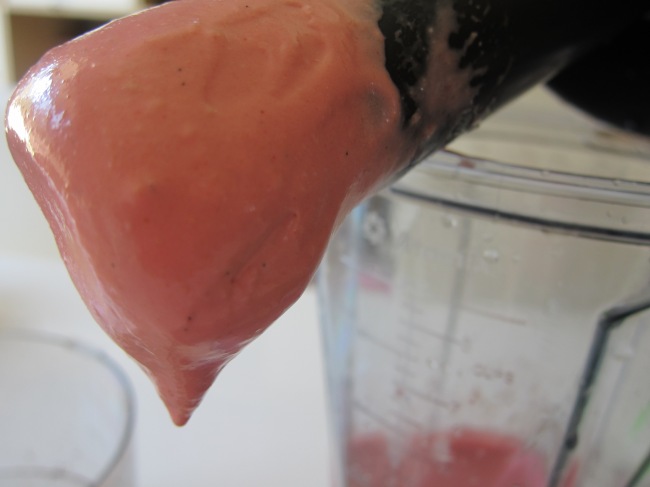
See the chunky bits? It means you gotta blend some more! (although I wouldn't mind eating some cashew bits ;) )
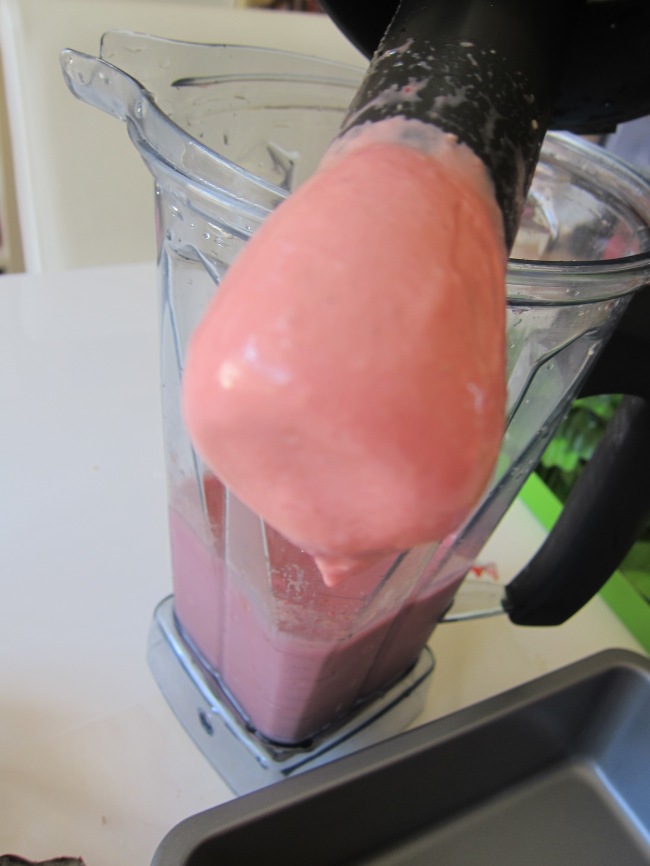
Now that's what I'm talking about! Smooth, velvety, creamy... yet this is the real deal, folks; no blood clotting cream here!
This is the time you may proceed and add the coconut oil. (it doesn't have to be melted).
Give your blender another whirl and voila! You're finished making the icebox!
I just can't help myself but photograph this gorgeousness.
Okay, fine. There are a couple of other steps.
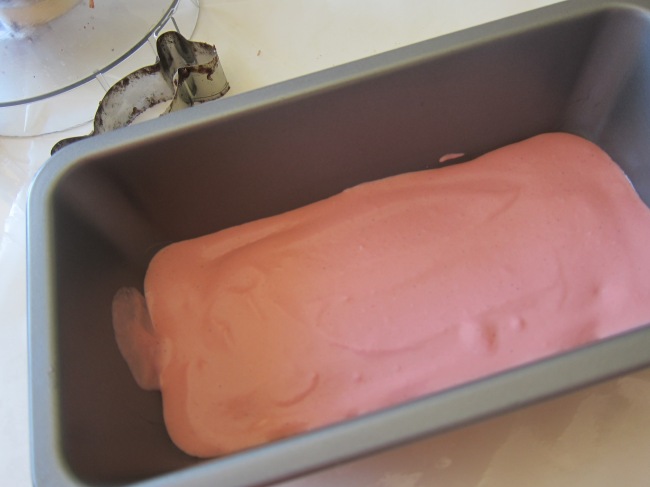
Pour the strawberry mixture about 1/2 inch deep into your loaf pan. Let sit in the freezer until set.
Once the mixture is set, take your chocolate fudge tower out of the refrigerator and place it into your loaf pan (horizontally, of course)
Although I'd totally understand if you'd like an awesome tower icebox "cake". ;)
Pour the remaining velvety strawberry mixture into your pan. Remember to use your favourite spatula for the scraping job! :)
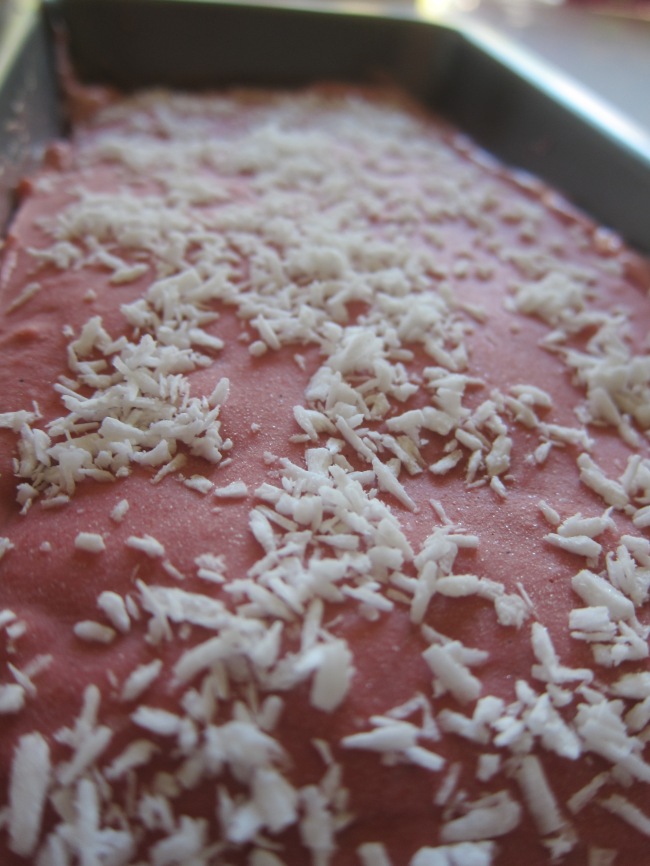
For a little garnish, sprinkle unsweetened shredded coconut on top. Makes it look like royalty ;)
Now put it into the freezer and try very hard not to peek inside every 20 seconds. (P.S. it will take longer if you do ;) )
Don't you all agree waiting is the hardest part?
After about 1-2 hours, your icebox should be ready to go.
To slice it up for enjoyment, simply place your loaf pan in a big bowl of hot water (I actually used a deep sautee pan).
Use a dinner knife and release the sides of the loaf pan. You will start seeing melted goodness splurging out from the sides ;)
Don't forget to take your loaf pan out when that happens!
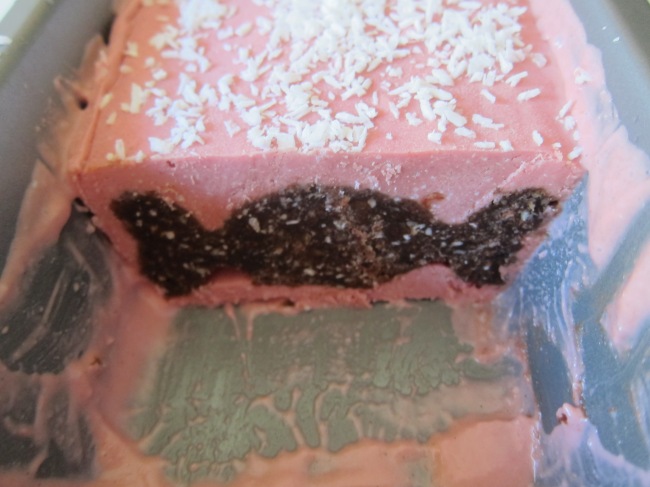
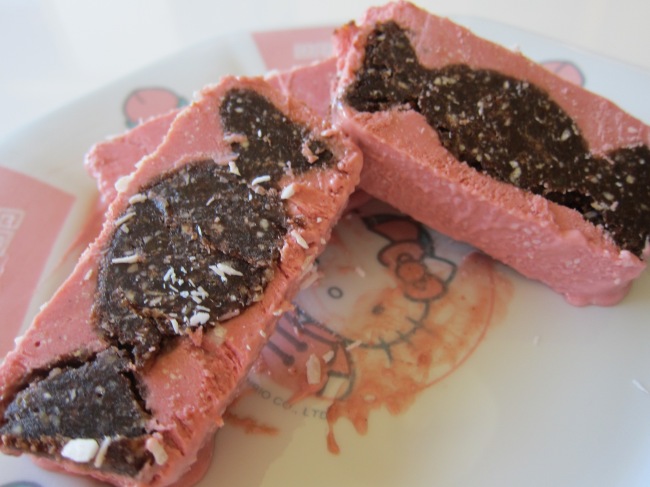
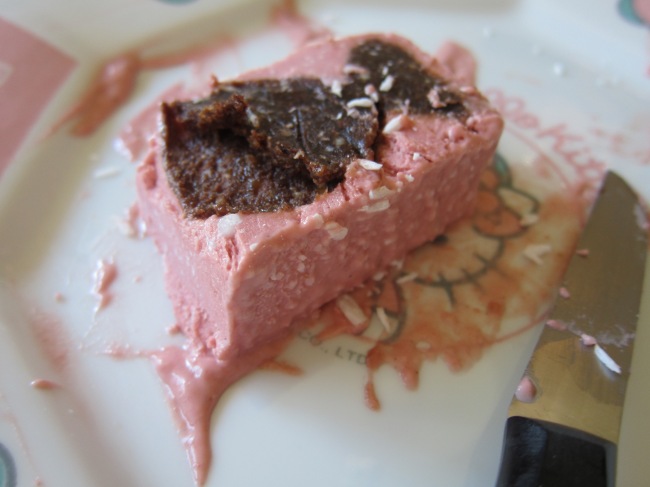
Slice it up, baby! See that distinct candy shape? Simply magical.
You know you want this... go make it! No ice-cream machine required!
10 minutes later....
Yepp, my sweet tooth struck again! ;)
Lots of Nuts,
Peanut Crumpet xoxo

No comments:
Post a Comment